

How To Make Potpourri

If you’ve clicked into this post, I bet you’re wondering what you can do with your old bouquet of flowers now that they are not as fresh as they used to be.
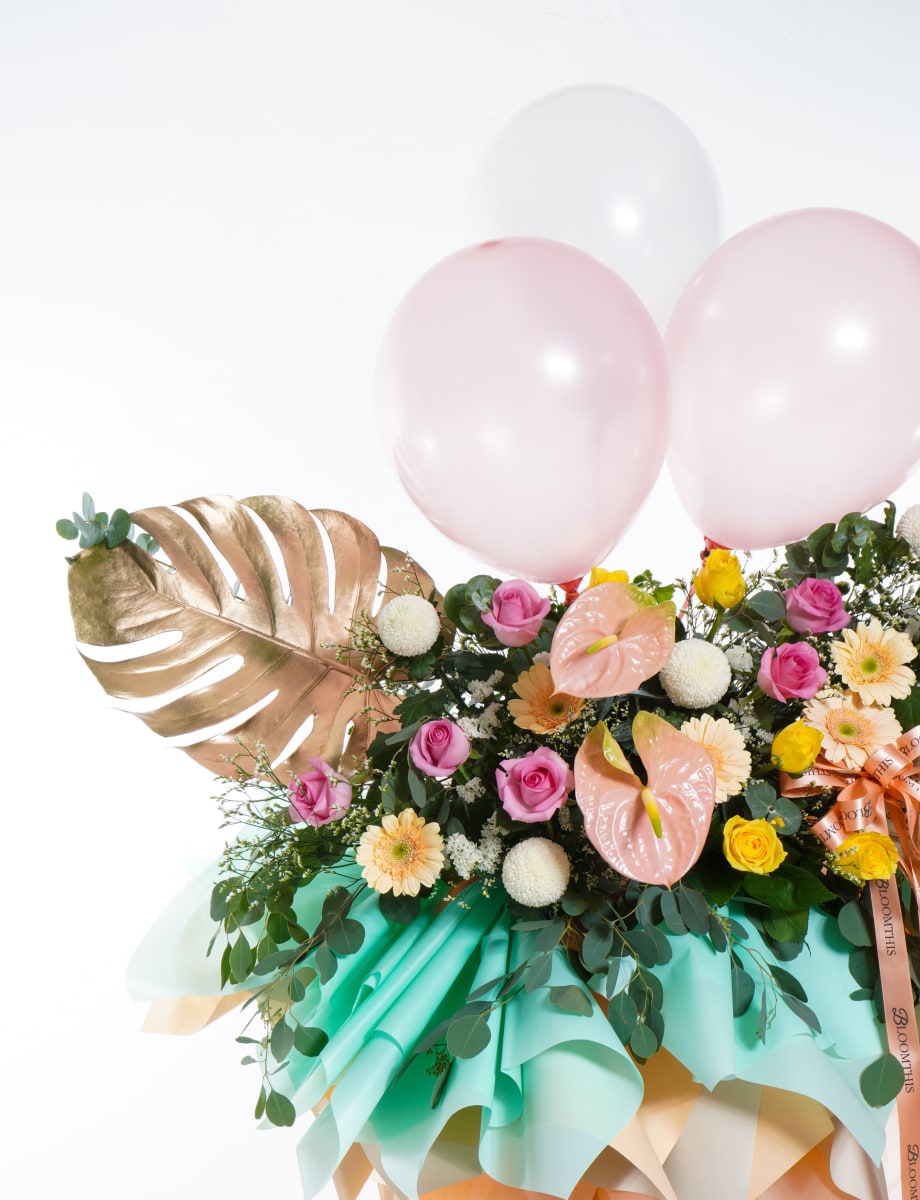
Also, if you managed to snag yourself a raya bouquet from our collection last month, don’t toss them!
Here’s your chance to make what was once old, new again. DIY-ing potpourri has never been easier, pretty and functional. Moreover it helps you save that extra ka-ching. So gather your old bouquet and let's get started.
Ever walked into a room, a house, a store and it smelled heavenly? I repeat, heavenly. Depending on your idea of what heavenly would smell like, you can customise your potpourri accordingly. It could be a hint of cinnamon, rosemary, citrusy, and no it doesn’t have to smell like a musty old bowl of dried flowers.
Now, some of you may have heard that potpourri comes from the French translation of "rotten pot". I can assure you this pot smells far from rotten.
What You Need

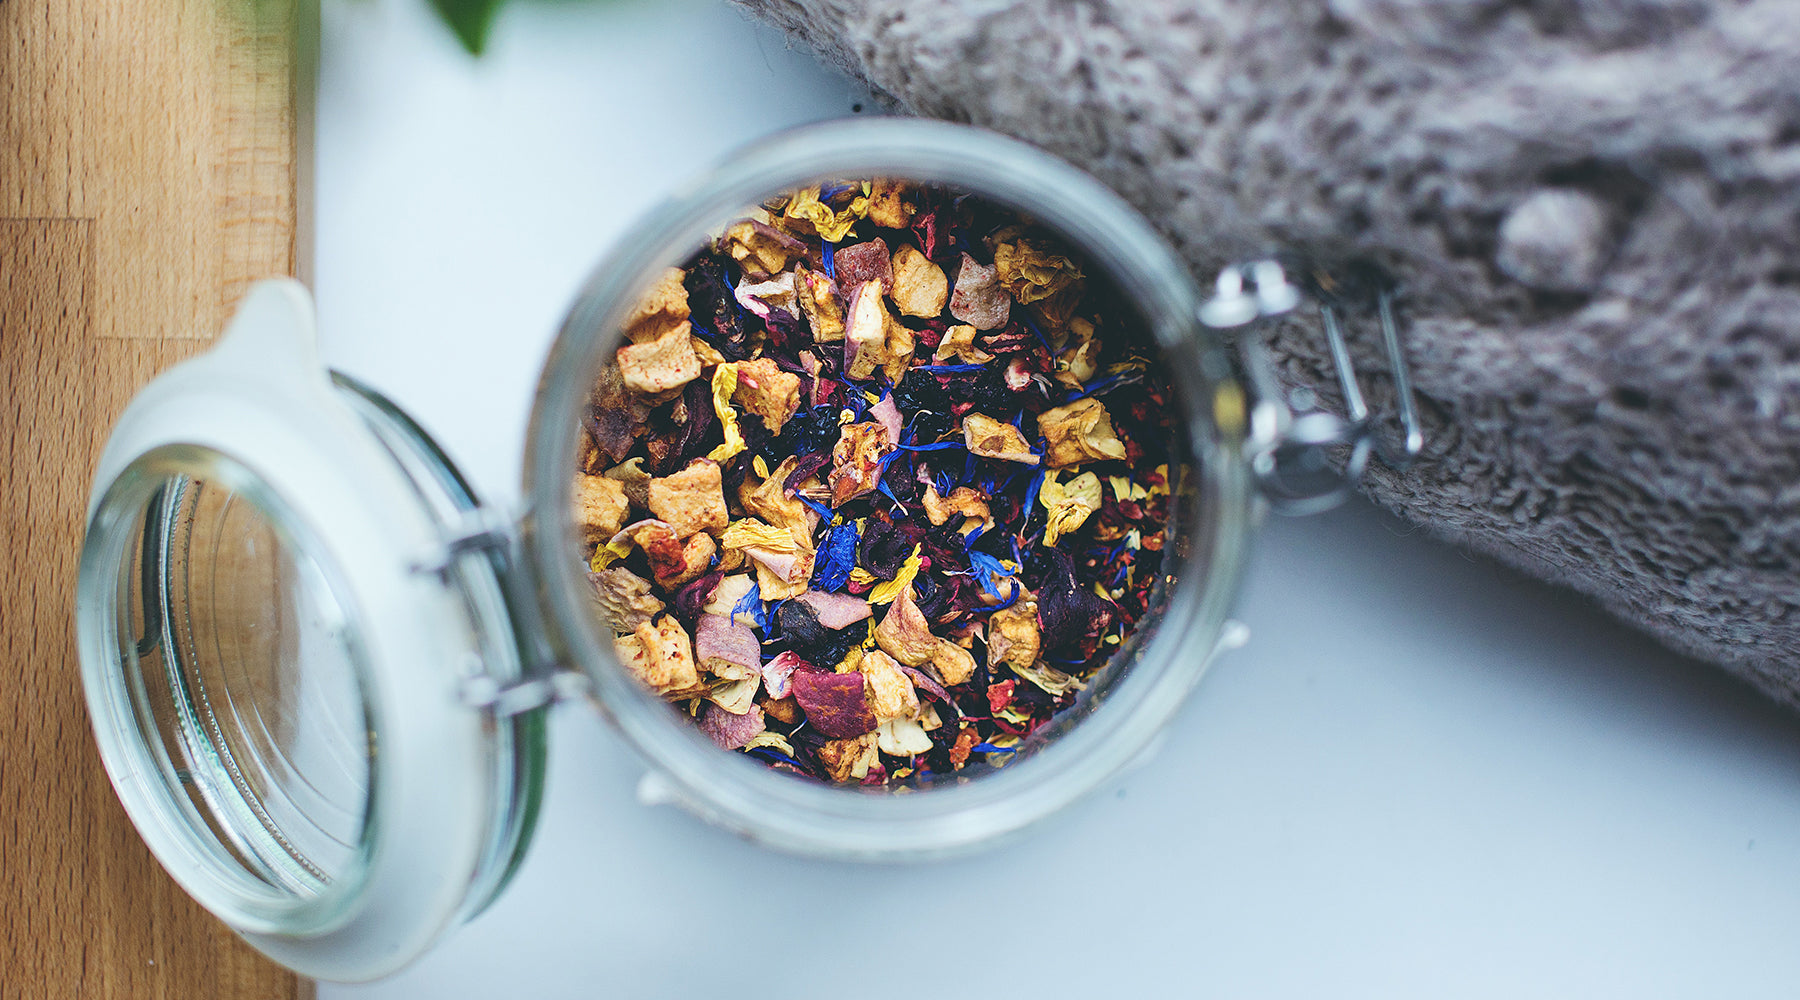
Dried flowers, essential oils, herbs or oils (both optional) and a whole lot of loving.
Step 1: Dry out the flowers

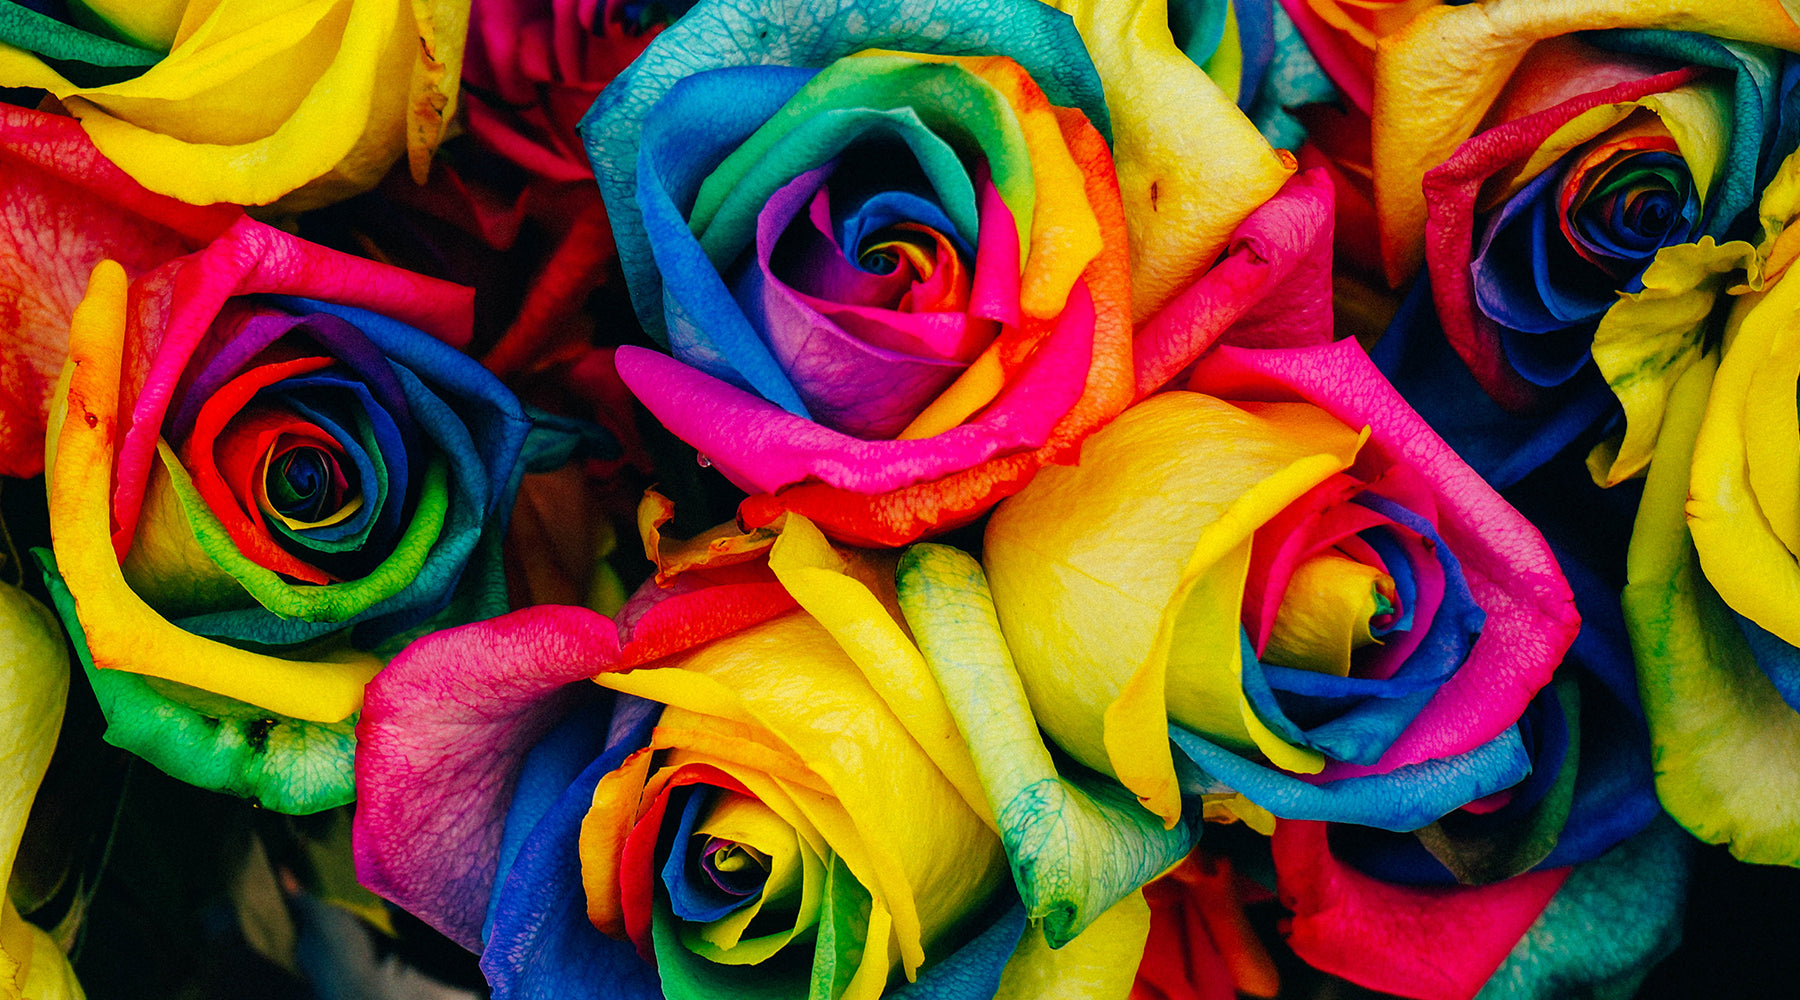
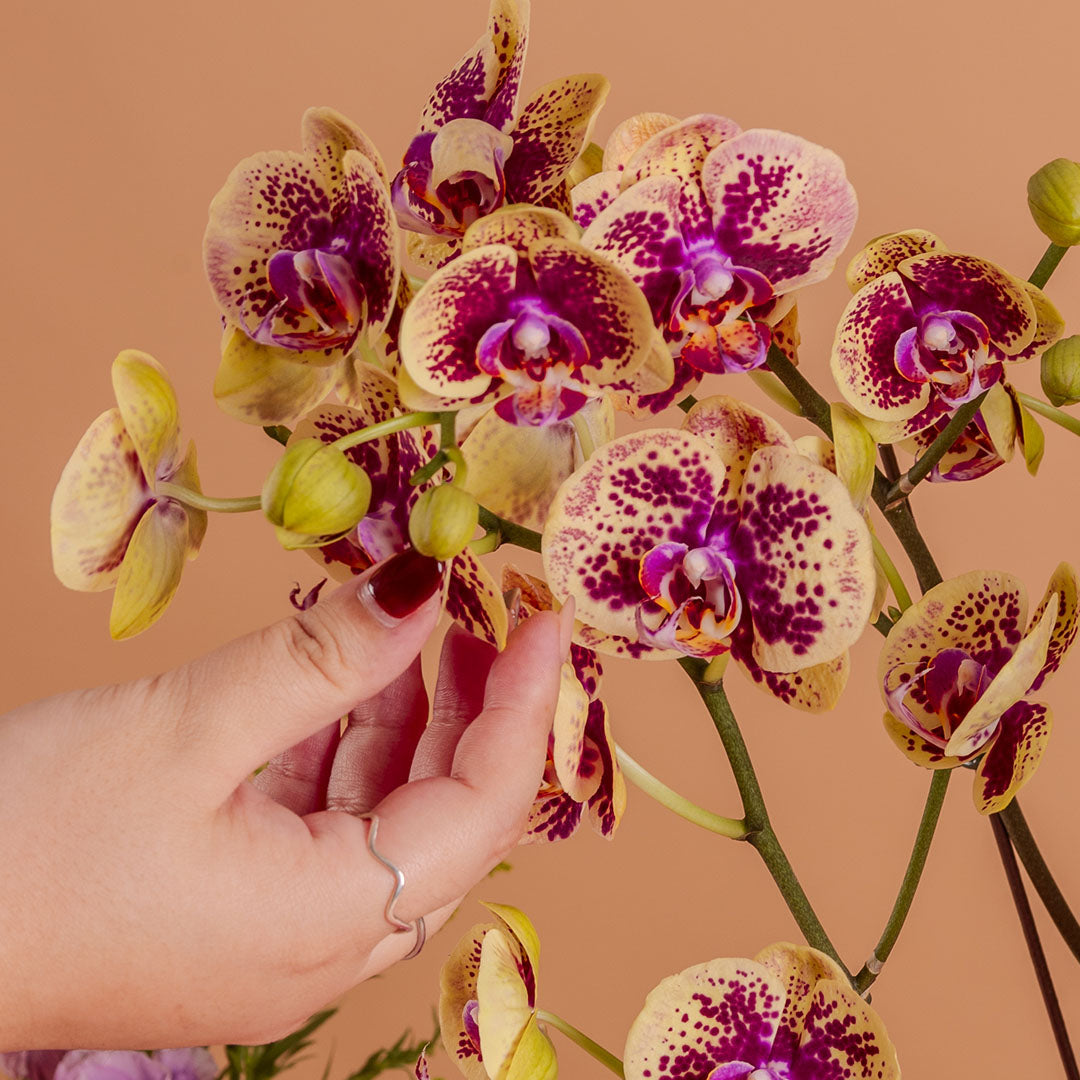
Prior to making the potpourri, you’ll need to dry out the flowers. For a sure feel-good-smelling-good potpourri, you can try using roses, peonies or lavender. Hang the flowers upside down by their stems, tying them using any kind of string or twist ties. Allow them to air-dry indoors for at least 2-3 weeks.
Tip: If waiting a few weeks is way too long, because (ain’t nobody got time for that). You can try drying them in your microwave. Place the petals between two paper towels and microwave for a minute. Remove them from the microwave, turn them over and microwave for another minute. Ta-da! Instantly dried petals.
Note: Depending on what type of microwave you're using, there may be some trial and error required. Also be careful to keep watch as it's possible for the paper towel to burn.
Step 2: Adding essential oils/herbs/spices

Once the flowers are dry, put them in a container and let the magic begin. Raid your pantry, raid your momma’s kitchen or her garden, raid the supermarket for any aromatic spices you can get your hands on. Cinnamon sticks, star anise and cloves are just among the few you can add for that delightful fragrance notes to your potpourri.
Add a few drops of essential oil. This is to extend the life of the potpourri’s scent. Some of our personal favourites are Lavender (relaxing), Lemongrass (relieving stress) or Bergamot (refreshing). The three most important R’s aside from reducing, reusing and recycling.
But when you really think about it, this whole article is teaching u to do the other 3R’s too! That is 6R’s in total. You should be so proud of yourself.
Step 3: Mix them all together.

Once you’re done mixing, close the container and allow the flowers the absorb all that scented goodness for a couple of weeks. Transfer them out of the container and into bowl, jar or even smaller fabric bags (sachets) so that they are compact and can be hung anywhere.
Place them in your living room, bathroom or guest rooms giving an instantaneous pleasing scent to your home. The sachets come in handy if you’d like to place them in your car or closet.
If your potpourri ever needs a little refreshing, just spritz it again with your favourite scent or drip a little essential oil onto it.
Making potpourri is a great way to preserve your flowers. They make lovely house-warming gifts, it’s a fun bonding activity to do with your kids and it lifts your mood with all that smells.
So the next time you have a lovely bouquet, don’t forget how those 6R’s made you feel. Save the petals. Save the environment. Save your house from smelling like artificial air freshener.
Have you made your own potpourri before? Let us know down in the comments below or tag us on Instagram (@bloomthis)! Tell us what your favourite dried flowers or herbs to use are. Sharing is caring after all :)
Want more?
Read more stories
How To Tie-Dye Cut Flowers In 3 Easy Steps
Did you know that professional florists sometimes use dyes to refine the original colour or to even alter the shades of plain flowers? Read on learn how to create your very own set of tie-dye flowe...
Read more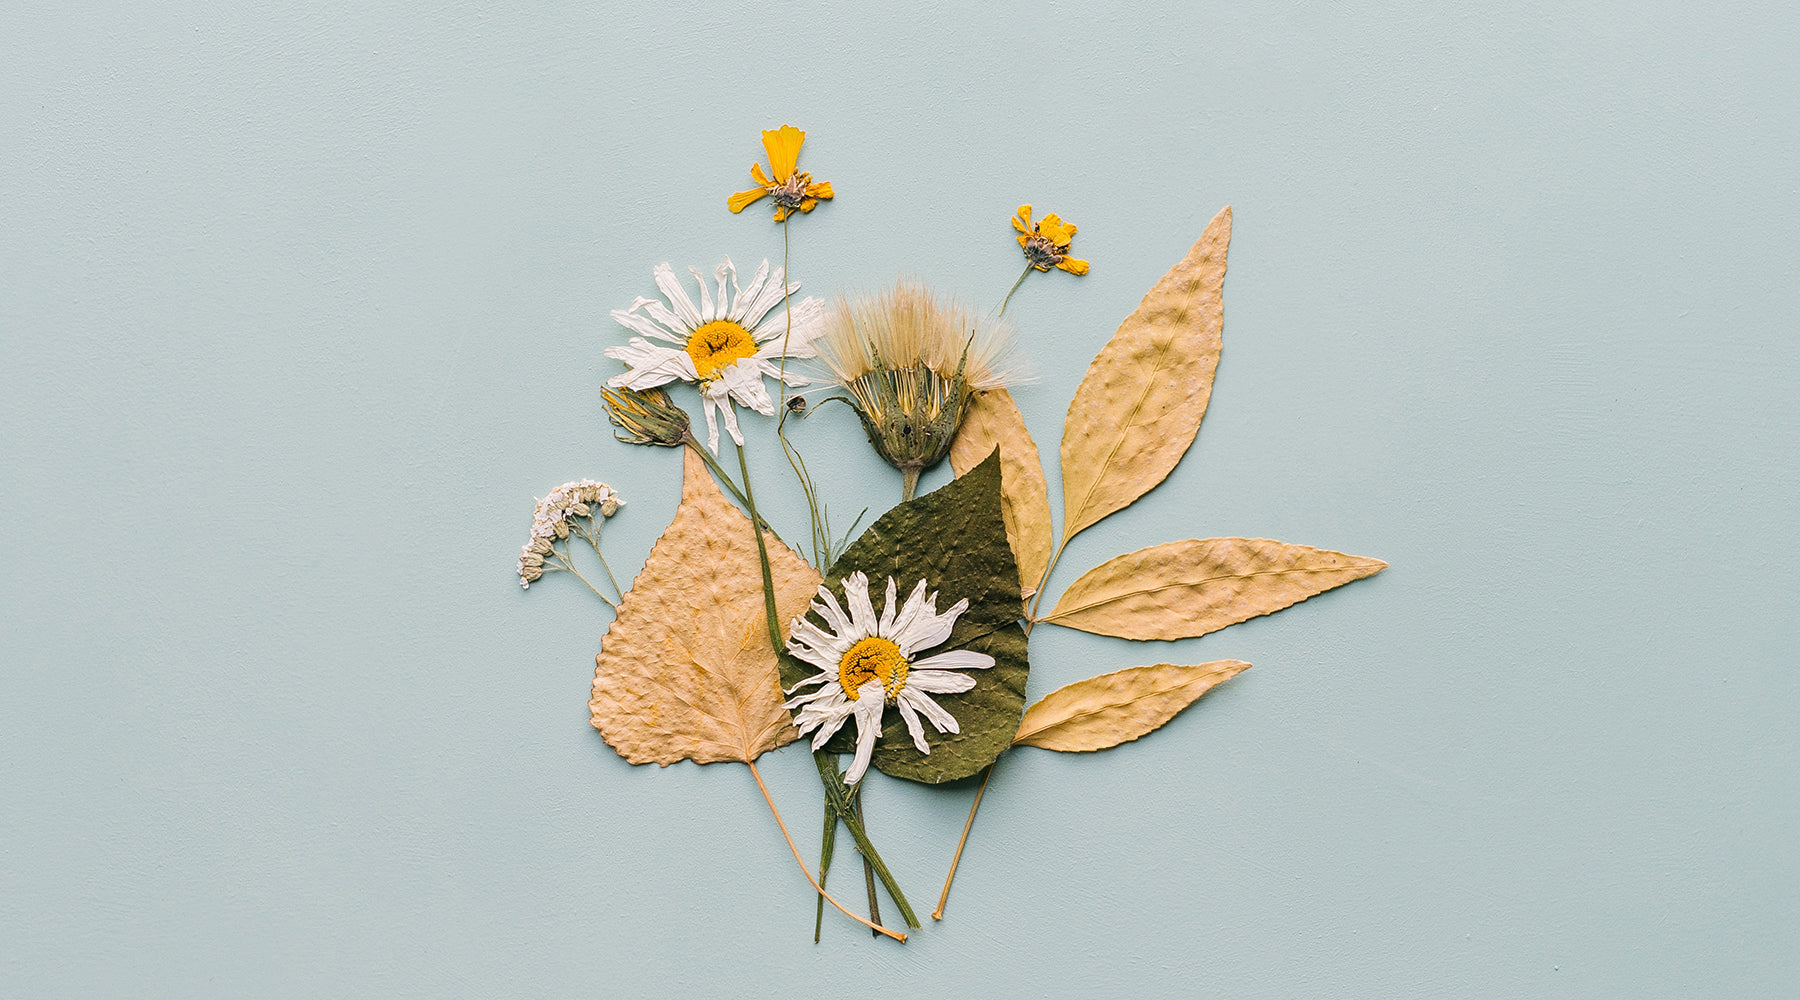
Flowers are the loveliest gift that anyone could receive. A way to preserve their beauty is to press them and you potentially could keep your most favourite bouquets on display all year round. They...
Read moreMake someone's day
Send the perfect gift


Leave a comment
This site is protected by reCAPTCHA and the Google Privacy Policy and Terms of Service apply.